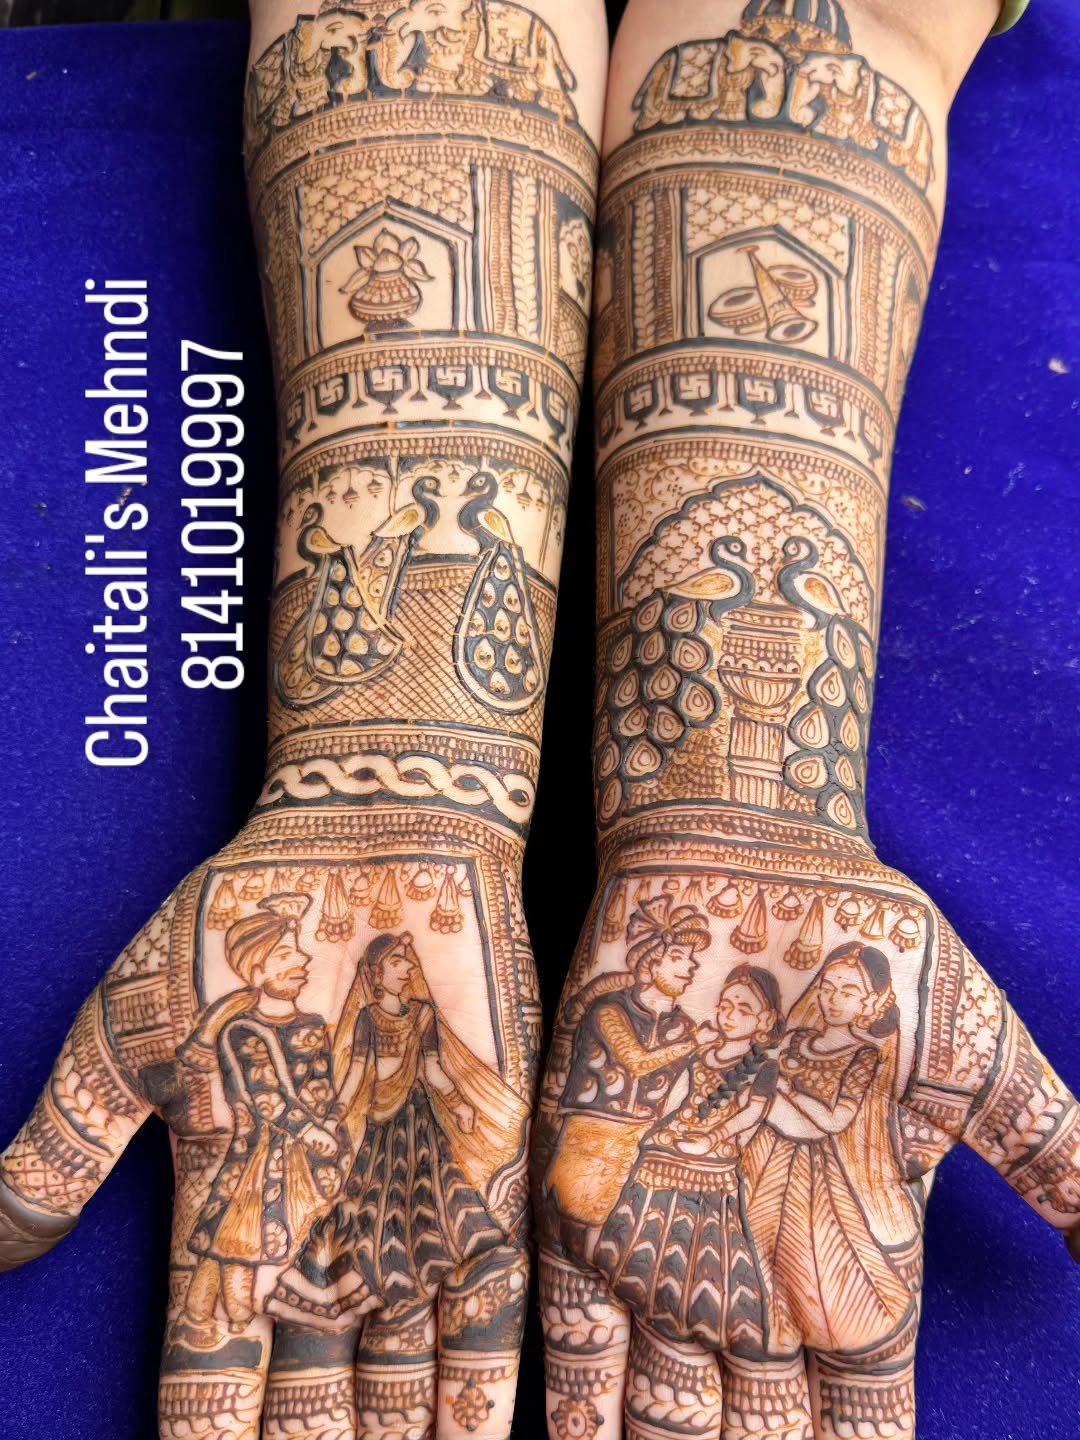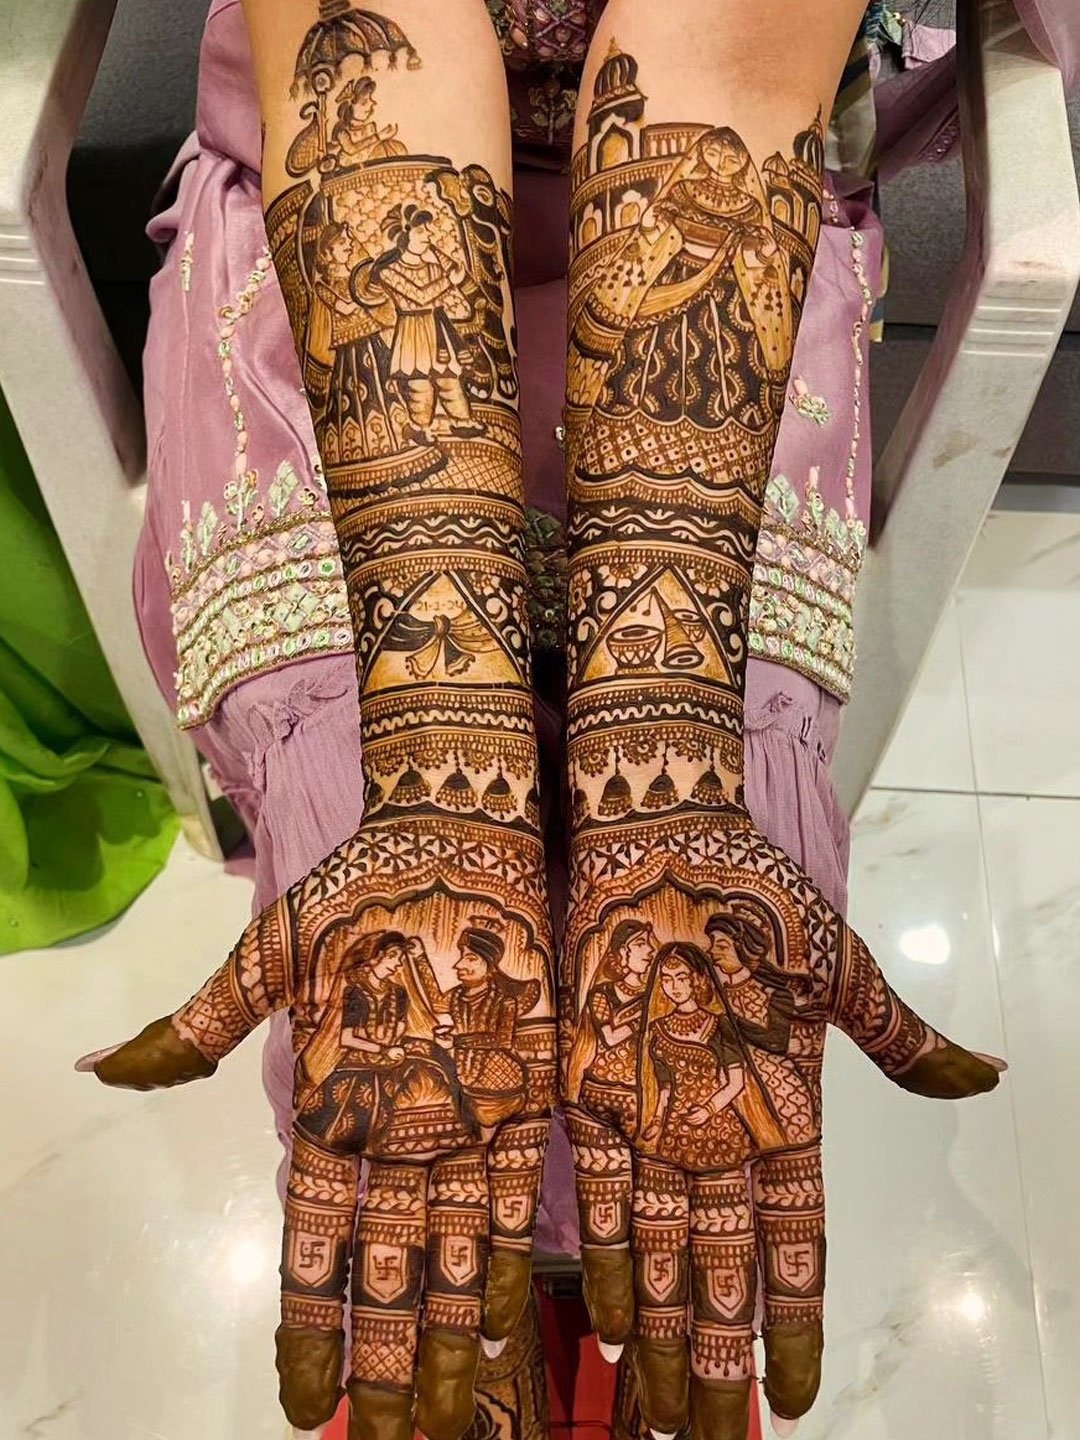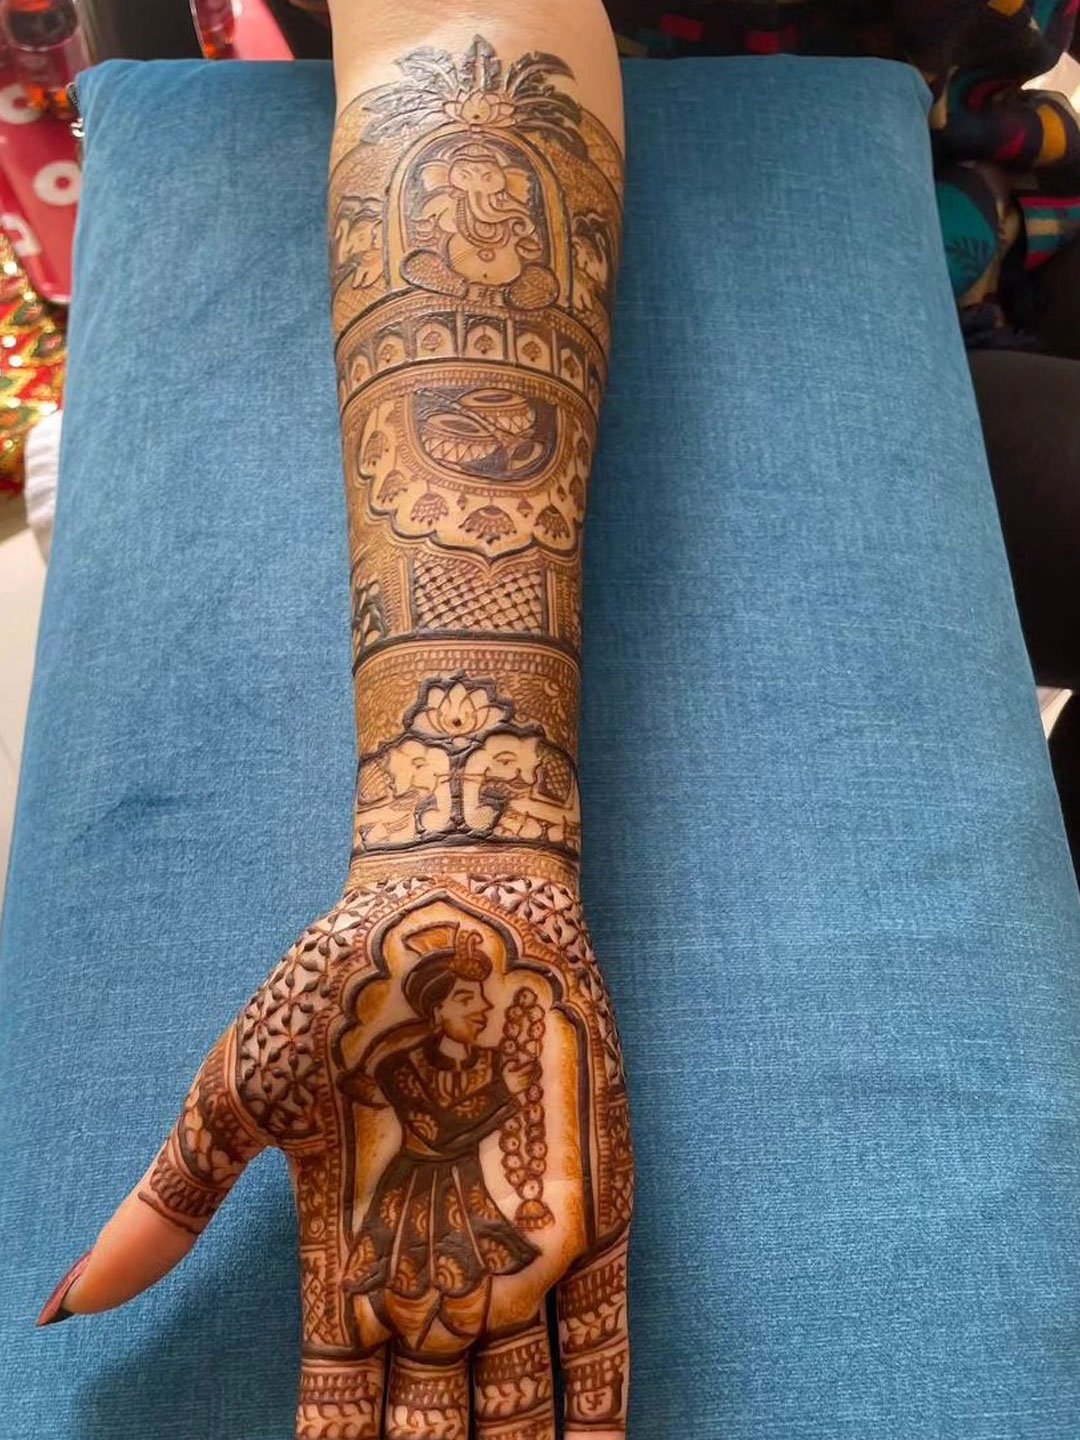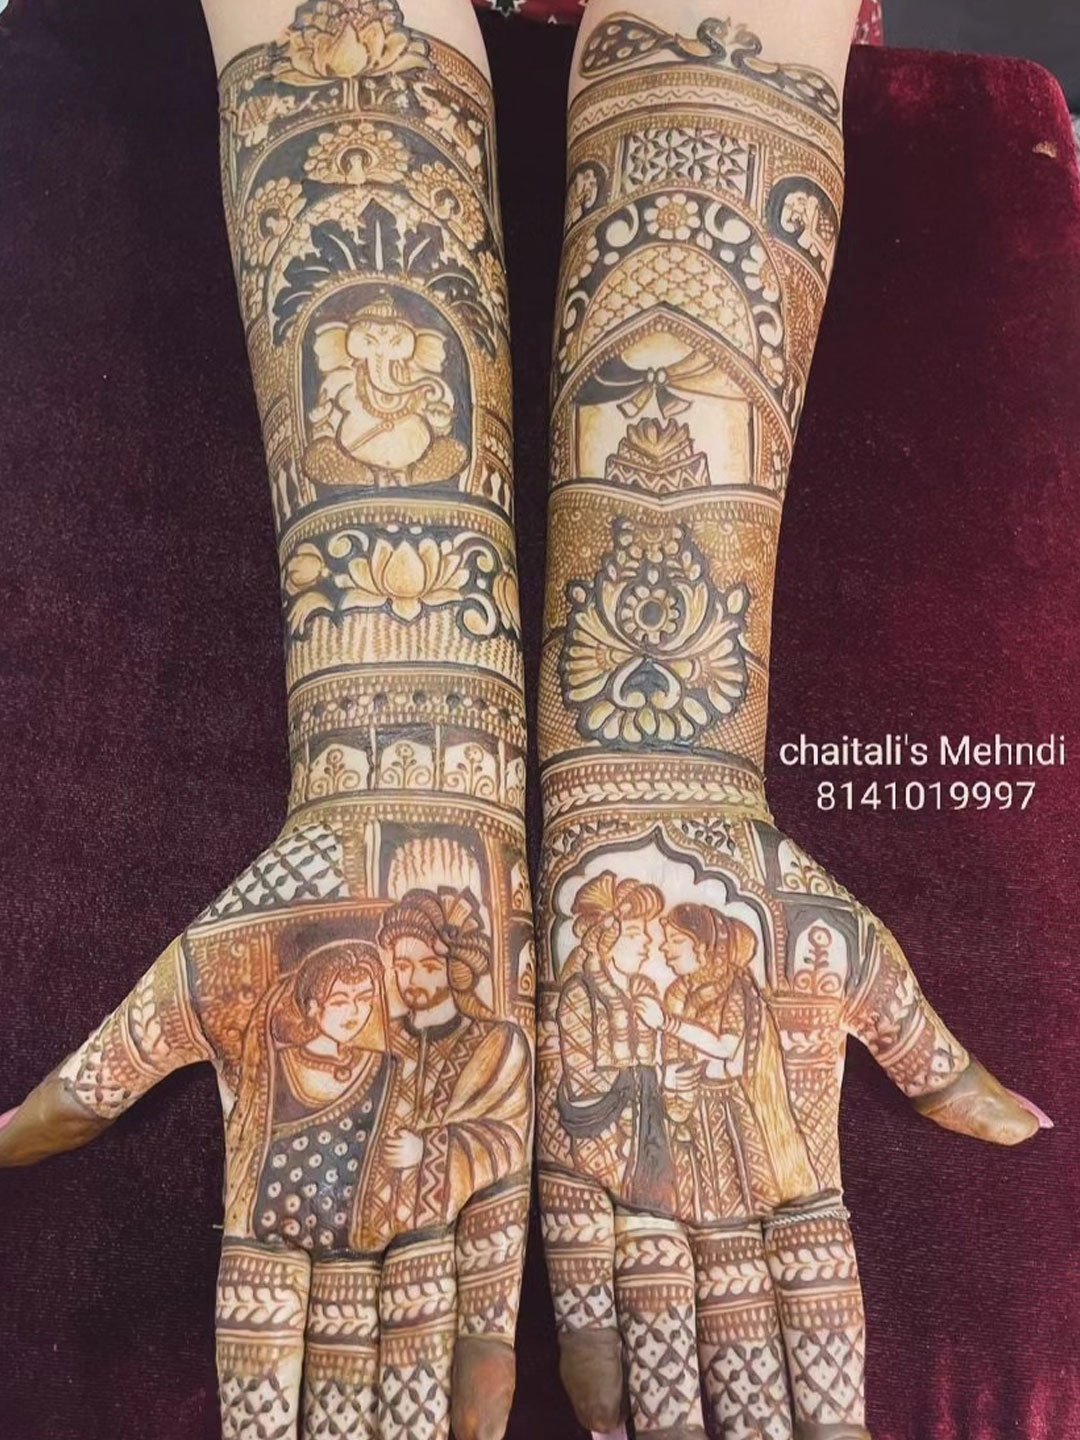
For most brides, the hands take centre stage in mehndi planning — but the feet quietly do just as much work on the big day. They’re on display during every ritual walk down the mandap, every varmala photo, every close-up shot of the bridal jodas being slipped on. A well-designed foot mehndi pattern doesn’t just complete the bridal look; it often becomes one of the most photographed details of the entire ceremony.
If you’re still treating foot mehndi as an afterthought to your hand design, this guide is here to change that. Below, we’re walking through why foot mehndi deserves real planning, the design styles that consistently work best, and everything you should discuss with your artist before the big day.
Why Foot Mehndi Deserves Its Own Planning
Feet aren’t simply a smaller, flatter version of the hand — they come with their own shape, movement, and viewing angles, which means a design that works beautifully on the palm doesn’t always translate well below the ankle.
The top of the foot is broader and flatter than the back of the hand, giving artists more open canvas to work with for a centrepiece. The toes, meanwhile, behave a lot like fingers but are shorter and closer together, so intricate detailing has to be scaled differently. And because footwear, movement, and standing photographs all affect how the design is seen, foot mehndi also has to hold up from multiple angles — not just the single top-down view most brides picture when planning.
None of this makes foot mehndi more complicated to get right. It simply means it benefits from being planned as its own design, rather than treated as a smaller copy-paste of whatever pattern is going on the hands.
What Makes a Foot Design Work
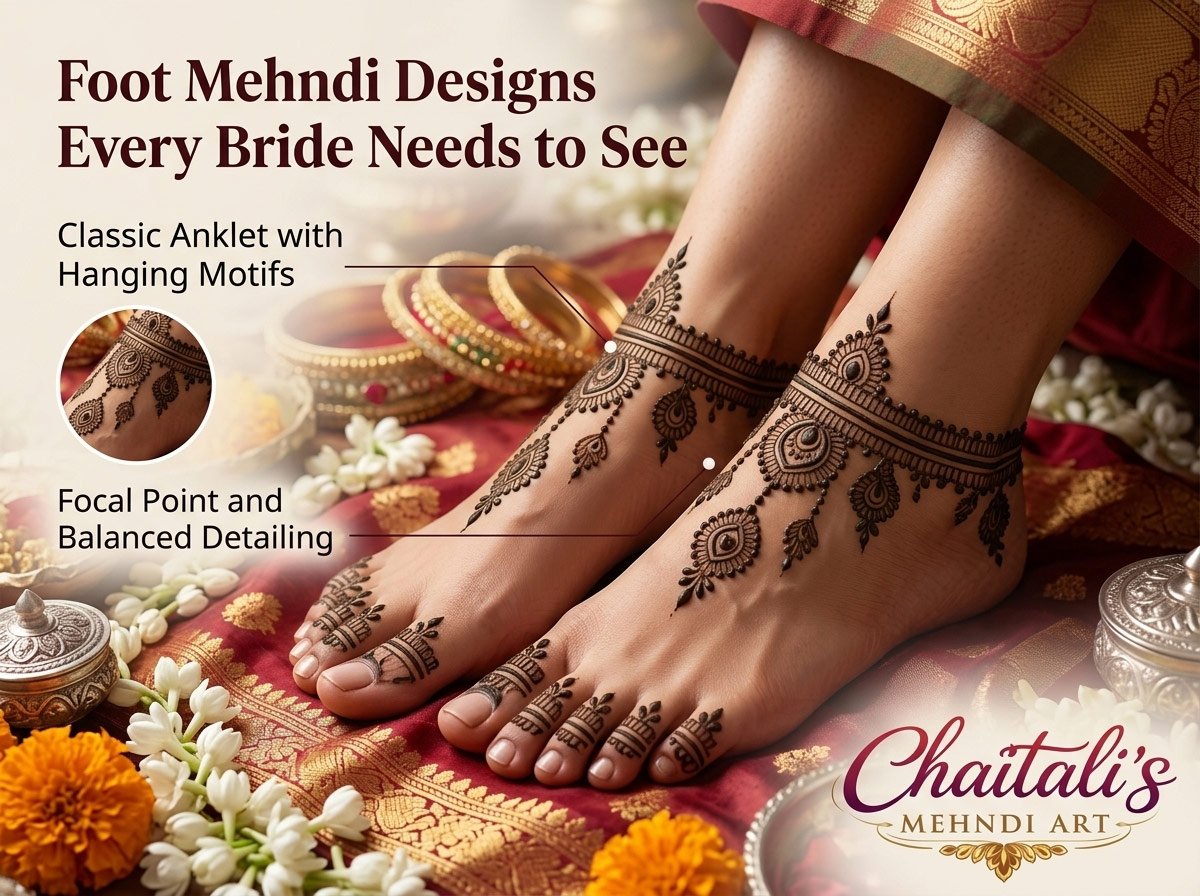
A strong central motif. Just like the palm anchors a hand design, the top of the foot usually needs one clear focal point — often placed just below the ankle or across the arch — around which the rest of the pattern can build outward.
Toe detailing that doesn’t overcrowd. Because toes are shorter and set closer together than fingers, overly dense toe patterns can look cramped. Simpler, tapered detailing on each toe tends to look cleaner than trying to replicate full finger-style coverage.
A defined anklet or border line. A mehndi “anklet” — a decorative band circling the ankle — is one of the most popular ways to frame a foot design and gives it a natural stopping point, much like a bangle line does on the wrist.
Balance with the hand design. While the foot design doesn’t need to match the hand pattern exactly, echoing a motif, a border style, or an overall density level between the two creates a more cohesive bridal look in photographs.
Comfort during application. Feet are applied last in most bridal sessions and require the bride to sit still with minimal movement while the henna sets, so overly long or intricate foot designs should be weighed against how much time is realistically available in the full bridal schedule.
Foot Mehndi Designs Every Bride Should Consider
1. Classic Anklet with Hanging Motifs
A decorative band circles the ankle, with small teardrop or paisley motifs “hanging” down from it like an actual anklet. This is one of the most timeless foot mehndi styles and photographs beautifully with traditional bridal jewellery.
2. Full Arch Centrepiece
A dense, detailed motif — often a mandala, a lotus, or a floral cluster — fills the top of the foot from the ankle down to the base of the toes, mirroring the kind of centrepiece many brides choose for the back of the hand.
3. Vine and Floral Trail
A flowing vine, dotted with small flowers and leaves, winds from the ankle down across the foot and out toward the toes, giving a softer, more organic look than a symmetrical centrepiece.
4. Bridal Jaal (Net) Pattern
A fine, open net of linework covers the top of the foot, allowing small sections of skin to peek through. This style offers coverage without the heaviness of a solid-fill design and tends to suit brides who want detail without density.
5. Toe-Ring Style Detailing
Simple, delicate patterns wrap around the base of each toe like a toe ring, sometimes paired with a fine line running up toward the ankle. This is a favourite for brides who want their foot mehndi to complement actual toe rings worn on the day.
6. Peacock Motif Foot Design
A peacock — one of the most requested bridal mehndi motifs — spreads its tail feathers across the top of the foot, usually with the body positioned near the ankle and the feather details fanning out toward the toes.
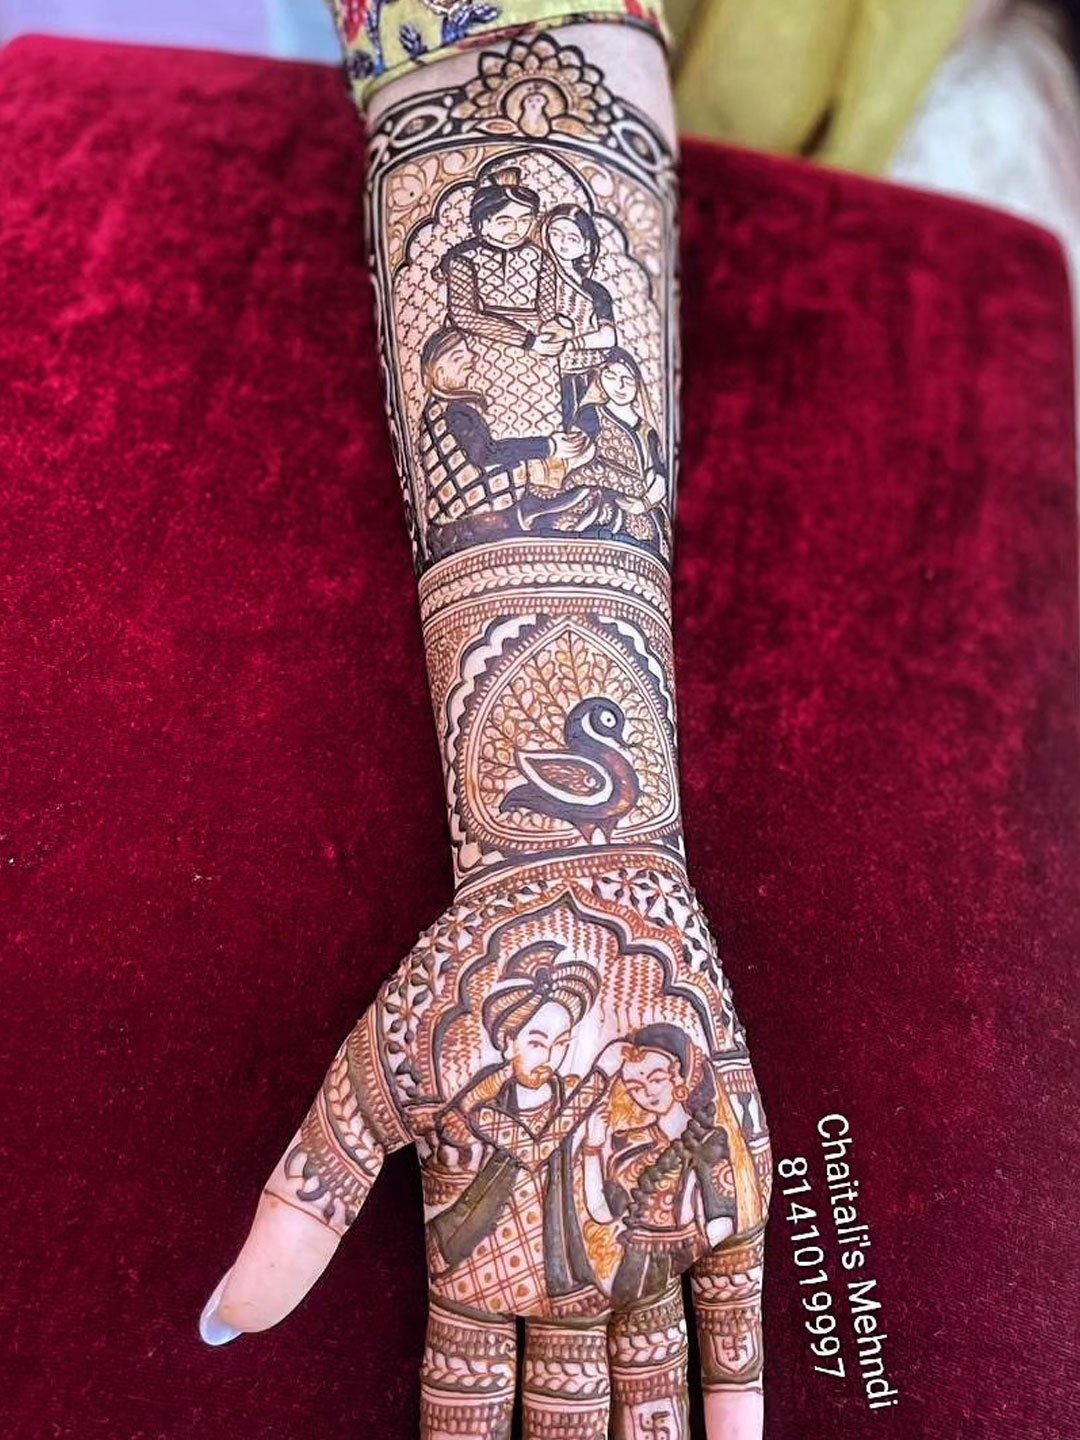
7. Bridal Portrait or Groom’s Initial Foot Design
Some brides choose to hide a small personal detail — initials, a date, or a tiny symbol — within the foot design, tucked among the linework where it isn’t immediately obvious but holds personal meaning.
8. Minimalist Ankle Band
For brides who want their hand design to do the heavy lifting, a single fine band or delicate chain-style line around the ankle offers a subtle, elegant foot detail without much additional application time.
9. Mandala Sole-to-Toe Flow
A rounded mandala sits at the centre of the foot with linework extending both toward the ankle and down between the toes, creating one continuous design rather than separate sections.
10. Diagonal Vine with Open Toe Detailing
Rather than a centred, symmetrical layout, a vine runs diagonally across the foot from one side of the ankle toward the opposite toes, paired with light, open detailing on the toes themselves for a more contemporary, asymmetric look.
Matching Your Foot Design to Your Hand Design
Brides often ask whether the foot and hand mehndi need to be identical — the honest answer is no, but they should feel like they belong to the same overall design story.
Echo the same motif in both places. If your hand design features a particular flower, paisley shape, or peacock detail, repeating that same element somewhere on the foot design ties the two together without requiring a full match.
Keep density levels roughly consistent. A very dense, traditional hand design paired with a bare-minimum foot design (or the reverse) can look slightly unbalanced in full-body bridal photographs, so it’s worth aiming for a similar level of detail across both.
Let the border styles connect. If your hand design uses a particular bangle-line or border pattern, using a similar border for the ankle band on the foot creates visual continuity from head to toe — or in this case, hand to foot.
Consider how both will be seen together. Full-length bridal shots capture hands and feet in the same frame more often than brides expect, particularly during rituals like the phera or varmala, so it helps to picture both designs together rather than planning each in isolation.
Things to Keep in Mind Before the Big Day
Footwear plans matter. If you’ll be wearing closed shoes or heavy footwear for parts of the day, discuss this with your artist in advance — some designs are worth extending further up the ankle or leg if they’ll be visible, while others can stay more contained if footwear will cover most of the foot.
Standing and walking time affects placement. Since brides spend a fair amount of time standing and walking during ceremonies, very fine, high-detail linework on the sole edges or areas prone to friction may not hold up as well as the same detailing on the top of the foot.
Application order affects timing. Feet are typically done after the hands in a bridal session, so if your schedule is tight, it’s worth discussing with your artist upfront how much time to allocate for a detailed foot design versus a simpler one.
Colour development can differ slightly. The skin on the top of the foot often takes henna colour a little differently than the palms, so don’t be surprised if the initial stain looks slightly different — most artists will talk you through what to expect as it develops over the following day.
Tips for Planning Foot Mehndi With Your Artist
- Bring reference photos specific to feet, not just hand designs. Foot-specific portfolios help your artist understand the toe spacing, ankle placement, and coverage level you have in mind.
- Decide early how much time you want to allocate. A detailed foot centrepiece with toe work takes longer than a simple ankle band, so flagging this early helps your artist plan the full bridal session realistically.
- Talk through your footwear for each event. Mentioning whether you’ll be barefoot, in sandals, or in closed shoes for different parts of the wedding helps your artist decide how far up the ankle the design should extend.
- Ask how the foot design will connect to the hand design, especially if you want a cohesive theme running through the full bridal look.
- Be upfront about sensitivity or ticklishness. Feet can be more sensitive than hands for some brides, and letting your artist know in advance helps them plan a comfortable, steady application process.
How Long Does Foot Mehndi Typically Take?
Foot mehndi application time depends heavily on how dense and detailed the chosen design is. A minimalist ankle band or simple toe detailing adds relatively little time to an overall bridal session, while a full arch centrepiece with toe-to-ankle coverage takes considerably longer, since it involves both broader fill work and finer toe-level detailing. As part of a full bridal mehndi appointment, most artists build foot application into the total session time alongside the hands, so discussing your preferred foot design early on helps ensure the full booking is scheduled with enough time for both.
Frequently Asked Questions
Do I need matching designs on both feet? Most brides choose matching or mirrored designs on both feet for a balanced, symmetrical look, though some prefer subtle variations between the two — this comes down entirely to personal preference.
Is foot mehndi more painful or sensitive to apply than hand mehndi? Not typically more painful, though some brides find the sensation on the feet slightly different due to sensitivity levels. Most brides find the process comfortable, especially when seated and relaxed during application.
Will foot mehndi last as long as hand mehndi? With proper aftercare, foot mehndi stain can last a similar length of time to hand mehndi, though because feet experience more friction from footwear and walking, taking a little extra care in the first day or two helps the colour develop and last well.
Can foot mehndi be simple if my hand design is very elaborate? Absolutely. Many brides deliberately keep the foot design lighter than the hands to save application time, and a simple, well-placed ankle band can still look complete and elegant alongside a detailed hand design.
Should I get my foot mehndi done before or after my hands? Most bridal sessions apply the hands first and the feet last, since it allows the hands more drying and setting time before the bride needs to use them again, while the feet can stay still for longer without inconvenience.
Final Thoughts
Foot mehndi is far more than a finishing touch — it’s a design that shows up in countless photographs and deserves the same thought and planning as the hands. Whether you choose a classic hanging anklet, a full arch centrepiece, or a minimalist ankle band, the key is planning it as part of your complete bridal look rather than an afterthought decided at the last minute.
If you’re planning your wedding mehndi and want foot designs created to complement your hand mehndi seamlessly, Chaitali’s Mehndi Art offers personalised bridal mehndi sessions, engagement mehndi, and portrait mehndi services across Ahmedabad. Get in touch to start planning a design that carries your bridal look from head to toe.